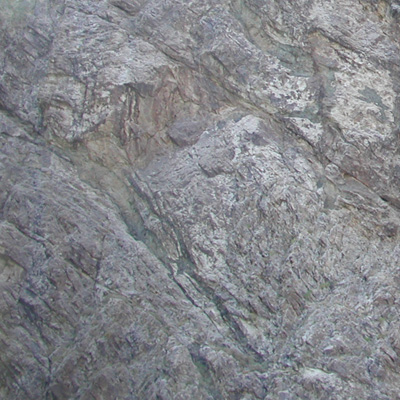
Say you have a texture fragment you want to make tileable, but it
has
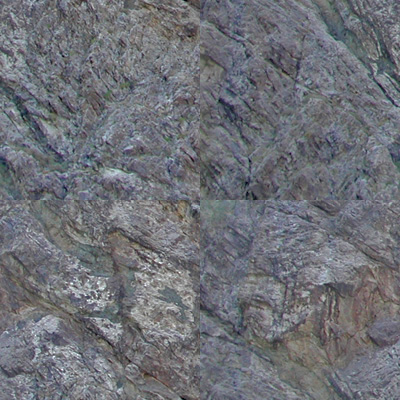
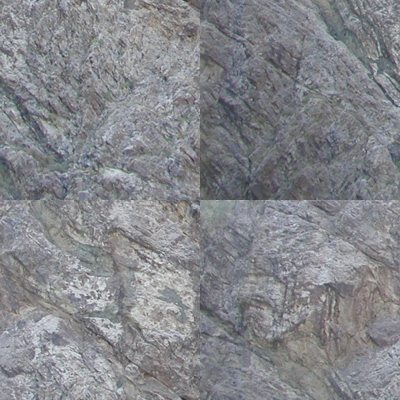
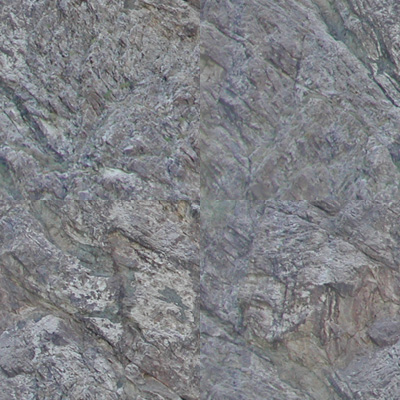
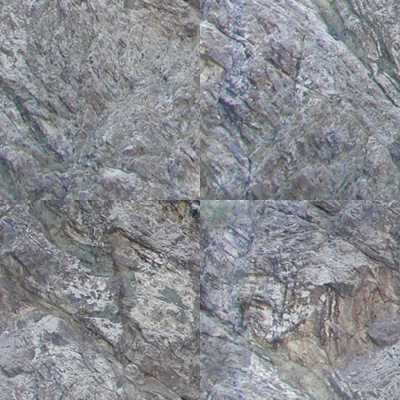
some big areas of light or dark such as this...
Notice how the lower left corner is really darker than the rest of
the image. If we try the offset
trick, we get this...
This is going to be really hard to use the clone brush on, because
the seam area is so different, one side is really dark and one side is
really bright.
Here are a few techniques for fixing the problem.
High Pass Filter Method
The high pass filter
lets you remove large changes is brightness without removing the small
changes in brightness. And that's what we're after here, we want the
large changes in brightness to go away (the dark left corner), but we
don't want to obliterate the small changes in brightness which are
the cracks in the rock.
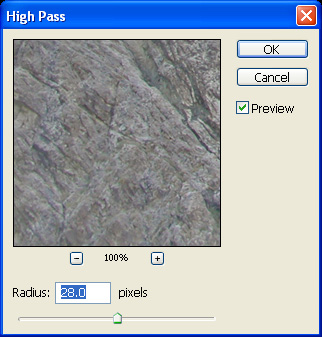
The procedure is like this, take your first image, duplicate it as a
new layer. Then run the Filter -> Other -> High Pass on your
duplicated layer. Play with the Radius until you've gotten rid of the
dark corner, but still have the small rock cracks. For this example, I
used a value of 28.0. Smaller values will remove the smaller details,
whereas larger values only remove the large brightness changes.
Experiment to find the ideal value for your particular image.
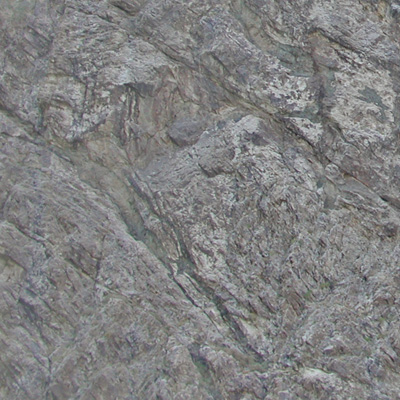
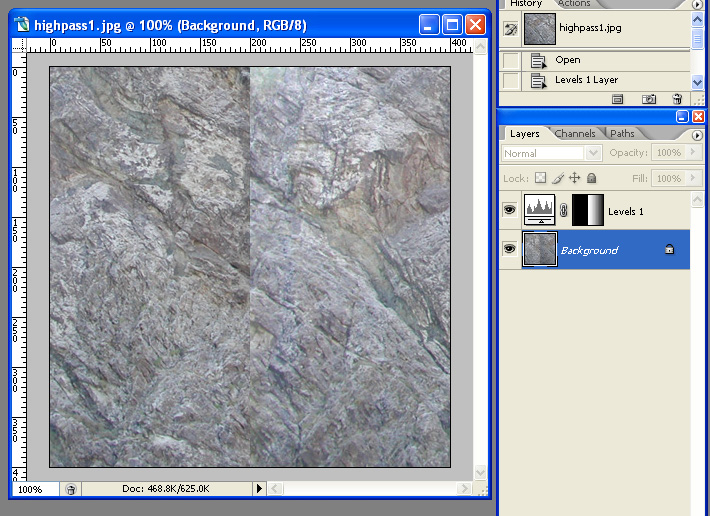
This is the result of the filter...
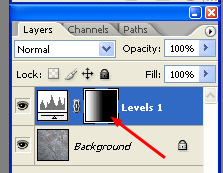
Now take that duplicated layer and set the mode to Luminosity...
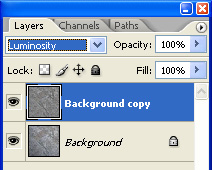
The reason to do this is because the high pass filter can change the
colors of your image pretty radically. For example, if you look at the
image
above, running the low pass filter on the background copy layer made
the rock much
yellower than the original rock. So you want to keep the color of your
original image, but use the brightness information of your high pass
filtered image, hence you set the layer to luminosity.
Now when you use offset on the result, it looks much better, and you
can use this technique
to remove the seam
(Note: Before offsetting, flatten your image, otherwise, you'll only
offset your top layer instead of the combination of both layers.)
For more information, here's a more in-depth article discussing the
technique...
Gamasutra - "The Power Of The High Pass Filter"
Gradient Method
Another method is the gradient method. This technique gives you more control over the final result, although it's not as automatic as the high pass filter method.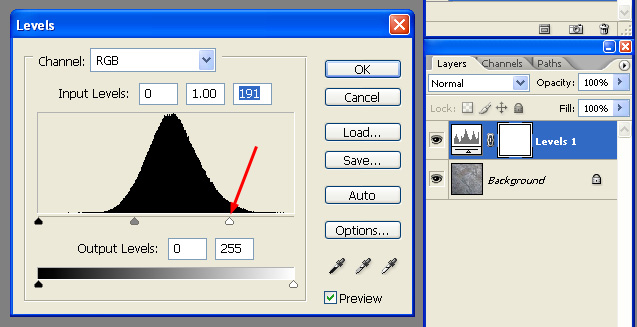
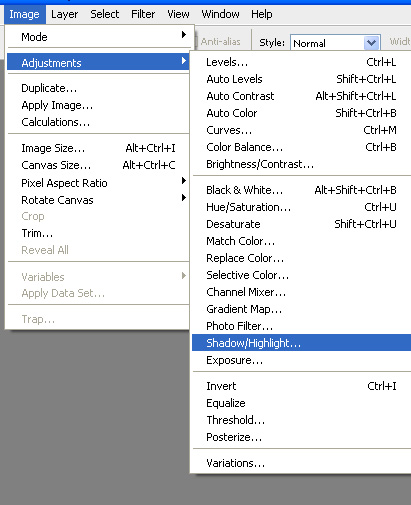
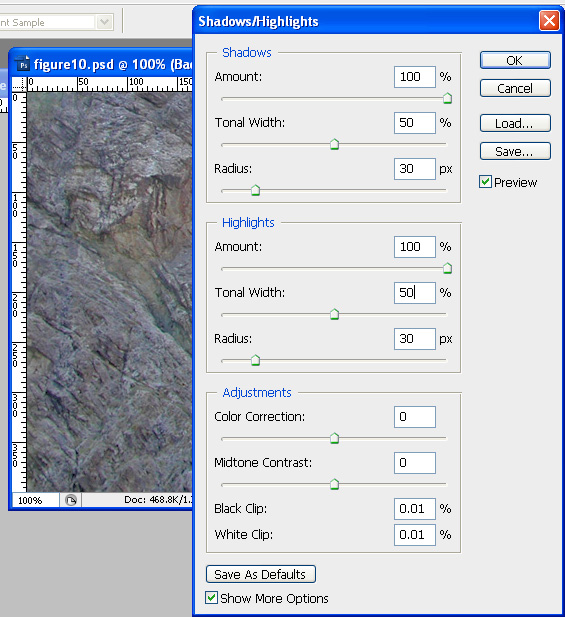
Shadow/Highlight Method
In more recent copies of photoshop, a new Adjustment has been added called Shadow/Highlight.