Converting A Grayscale Image
To Black On Transparent In Photoshop By Neil Blevins Created On: Apr 4th 2009 Updated On: Nov 21st 2013 Software: Photoshop
Sometimes when painting textures in Photoshop, you'll have a Grayscale
image that instead of black on white, you want it to be black pixels on
a transparent background.
Here's two techniques for doing this...
Channels Technique
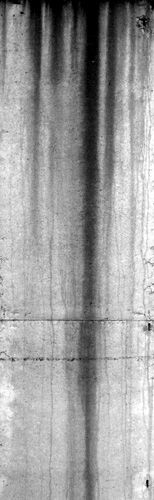
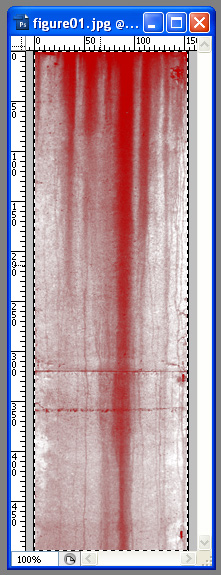
1) Here's your Grayscale Image...
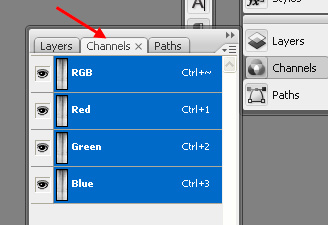
2) Switch To The Channels Window
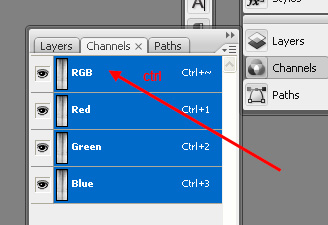
3) In a grayscale image, each channel, R G and B should be identical.
So hold the Ctrl Key, and click on the red channel. You should see a
selection in your main window appear.
Note: You can avoid steps 2 and 3 if you just hit Ctrl+Alt+1, which is
the keyboard shortcut to select the Red Channel in CS3 and below, or
Ctrl+Alt+3 for CS6.
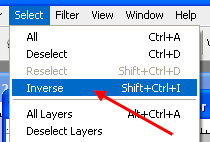
4) Invert Your Selection (shift+ctrl+i)
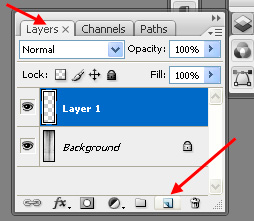
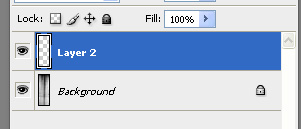
5) Go to the Layers Palette, create a new Layer.
6) Select the Color Black.
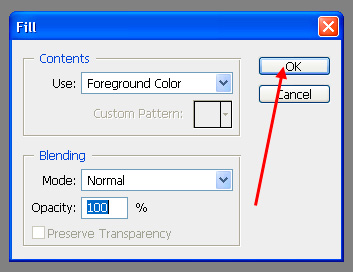
7) Choose Edit, Fill and OK (alt+backspace). Hide the original layer.
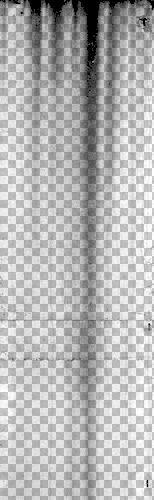
8) You now have black on a transparent background.
Quick Mask Method
This technique was suggested by hamish911.
1) Here's your image...
2) Select your image and copy it (ctrl+a, ctrl+c)
3) Create a New Layer (shift+ctrl+n, enter)
4) Enter Quickmask Mode (q)
5) Paste the Layer into the quickmask (ctrl+v)
6) Exit Quickmask (q)
7) Invert Your Selection (shift+ctrl+i)
8) Select the Color Black.
9) Choose Edit, Fill and OK (alt+backspace). Hide the original layer.
10) You now have black on a transparent background.