Layer Breakdown
Inc Poster 1
By Neil Blevins
Created On: Oct 15th 2017
Software: Photoshop, Looks
This video shows off the different
layers in a painting called "Inc Poster 1", a mixture of 3d imagery,
photos and hand painted elements. Watch the video below, or follow
along for
the tutorial in text and images...
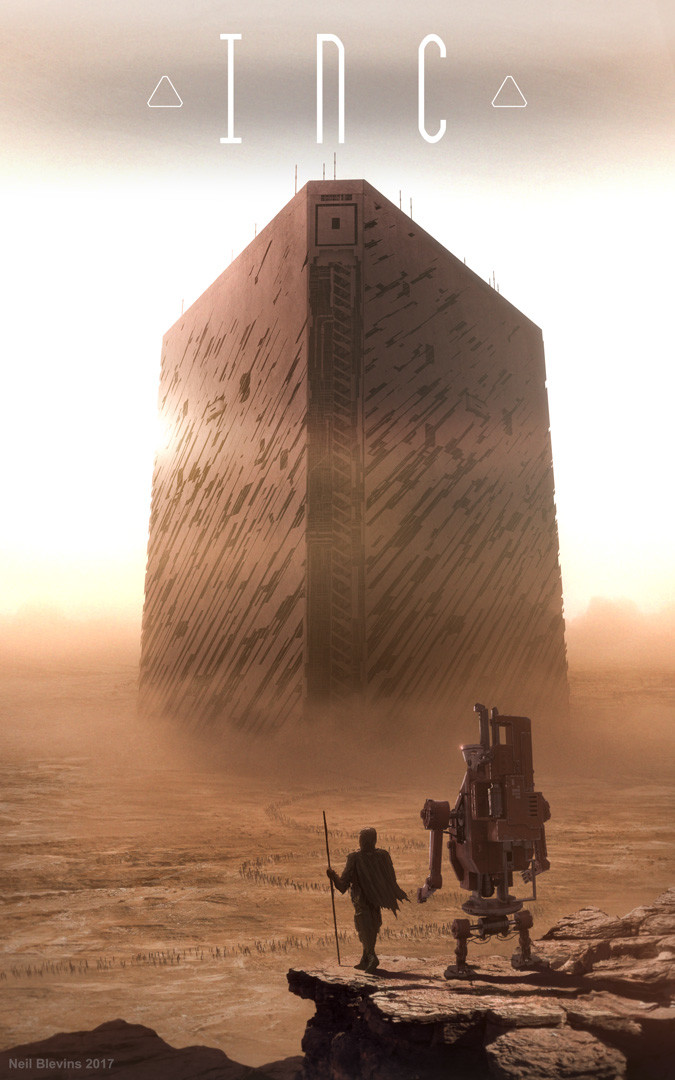
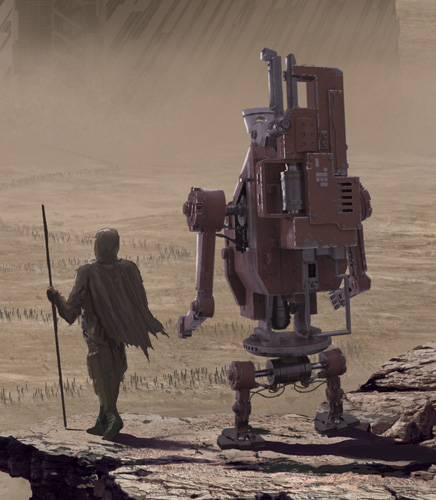
Here's the final painting...
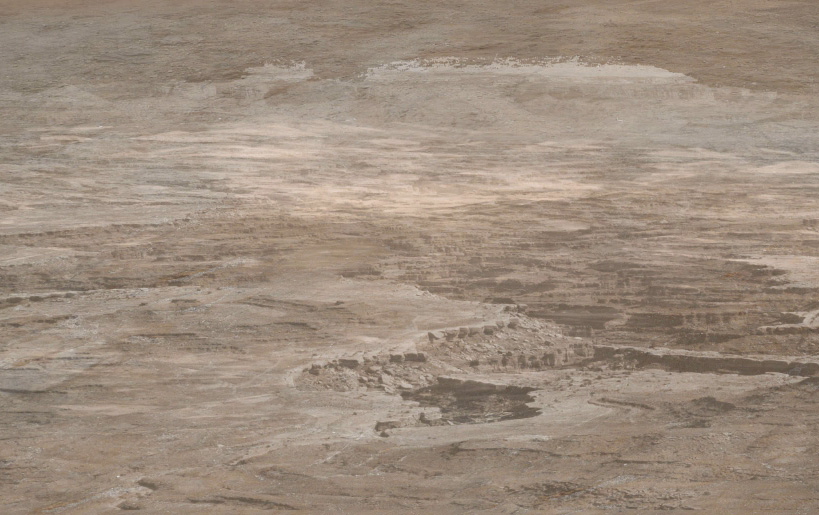
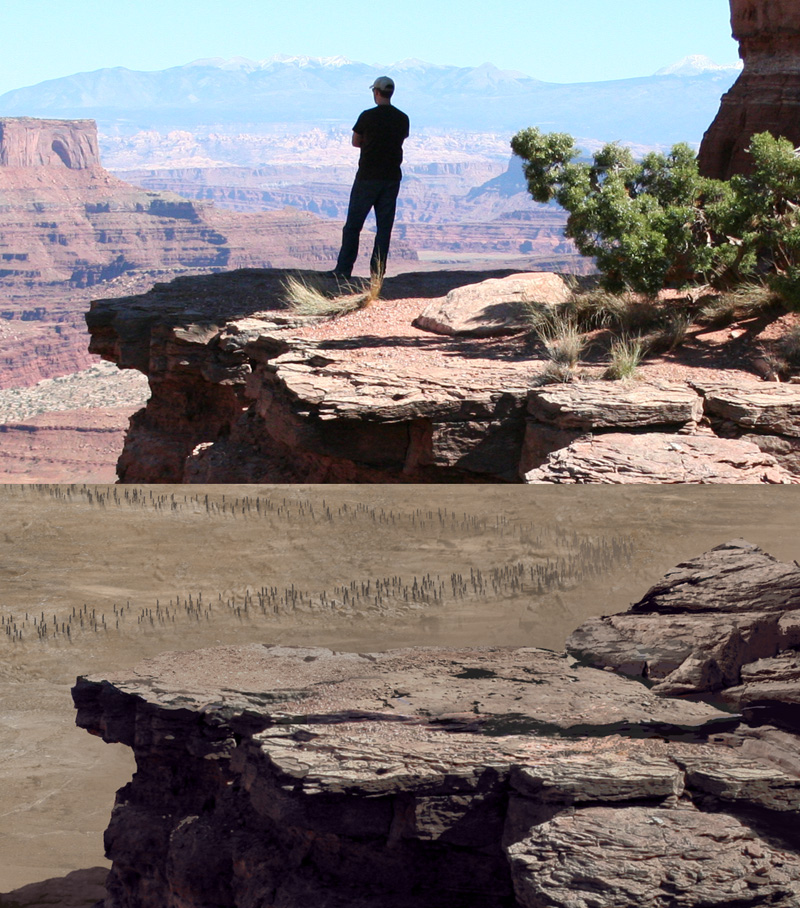
The first group is the ground, which starts off as a hand painted
surface, and then uses photo textures layered on top to give it a more
realistic feel. The photos were taken in Canyonlands National Park in
Utah.
The Sky group is a pretty simple gradient, the colors were sampled from
a photo of a real sunset. The gradient fades off at the bottom of the
ground to simulate the appearance of fog or a dust storm traveling
along the ground coming towards camera.

The next group is the citadel, which is a 3d render from 3dsmax and
vray. However, the lighting on the citadel is done almost entirely in
2d. Each flat plain of the citadel is selected and color corrected to
achieve the correct lighting.
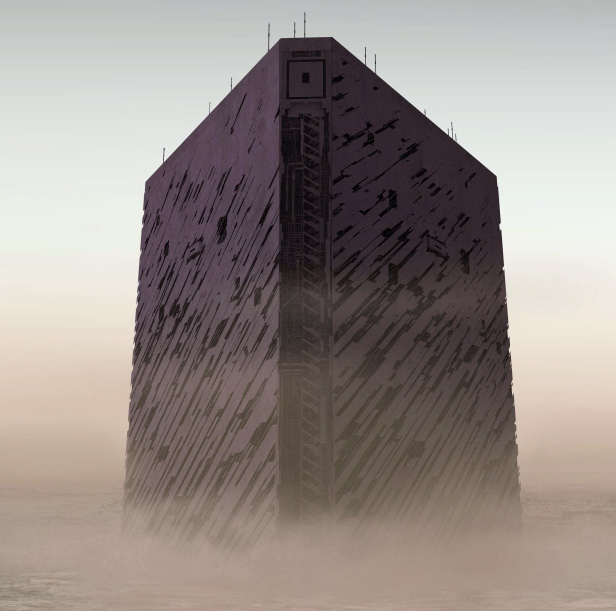
An overall color correction is applied to achieve a dark purple shadow
color.
Then mist is painted on a new layer with a soft yellow brush to give
the citadel a sense of enormous scale, and to hide the join with the
ground.
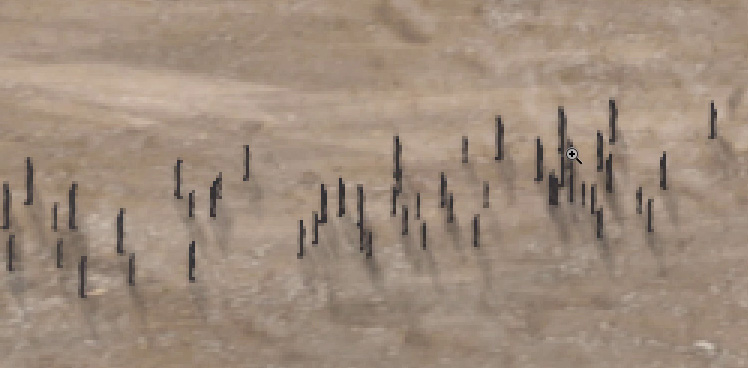
The settlers walking towards The Citadel are 3d people with 2d shadows
created by applying 2d Photoshop motion blur on a duplicate of the
layer. The shadow layer is translated to the lower right to match the
direction of the sunlight.
Another photo taken at Canyonlands leads to the rock cliff on the right
of the image. To remove the plant life (which isn't appropriate on an
all desert planet), other rocks from other photos are placed overtop
the plants, and hand paint is used to blend all the rock pieces
together.
Inc is a full 3d render, scene specific lighting is added in 2d for the
shot using color correction adjustment layers and painted highlights to
show off his metal shell. Landis started out as a photo of a
backpacker, and then painted on top to make him more desert like. This
promo image was completed before Landis' final design was done, which
is why his clothing looks a little different.
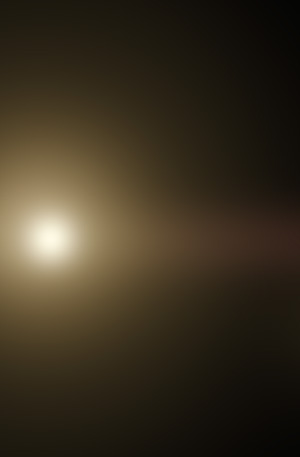
The sun is an HDR flare that I blurred and color corrected, and then
changed the layer to "Linear Dodge".
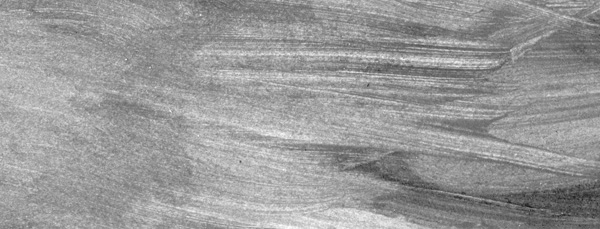
A subtle layer of dirt set to "Soft Light" helps give a more organic
feel.
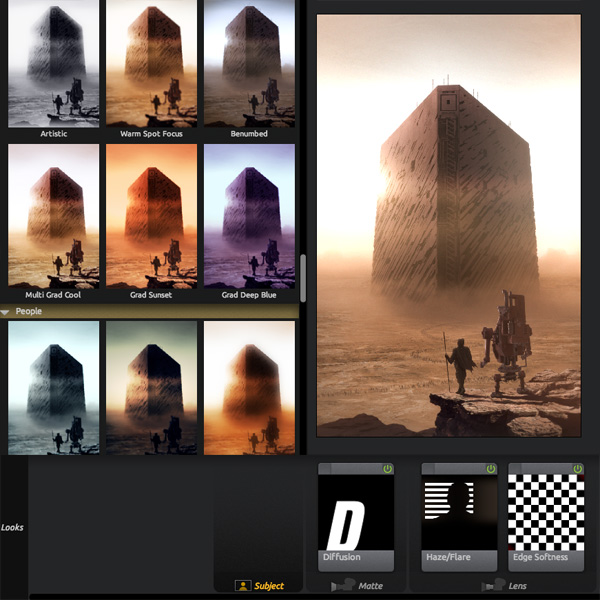
The final step was bringing the image into Magic Bullet Photo Looks to
do some final color correction, value adjustment and glows, to give the
image a more filmic quality.
This site is ©2026 by Neil Blevins, All rights
are reserved.
To see hundreds of other tutorials similar to this one, visit the
Neil Blevins Education Site