Here's a tutorial on how to
create a simple toon material, plus advice on other more advanced
options available in Blender and 3dsmax.
Reference
Here's some reference from the anime "Knights of Sidonia".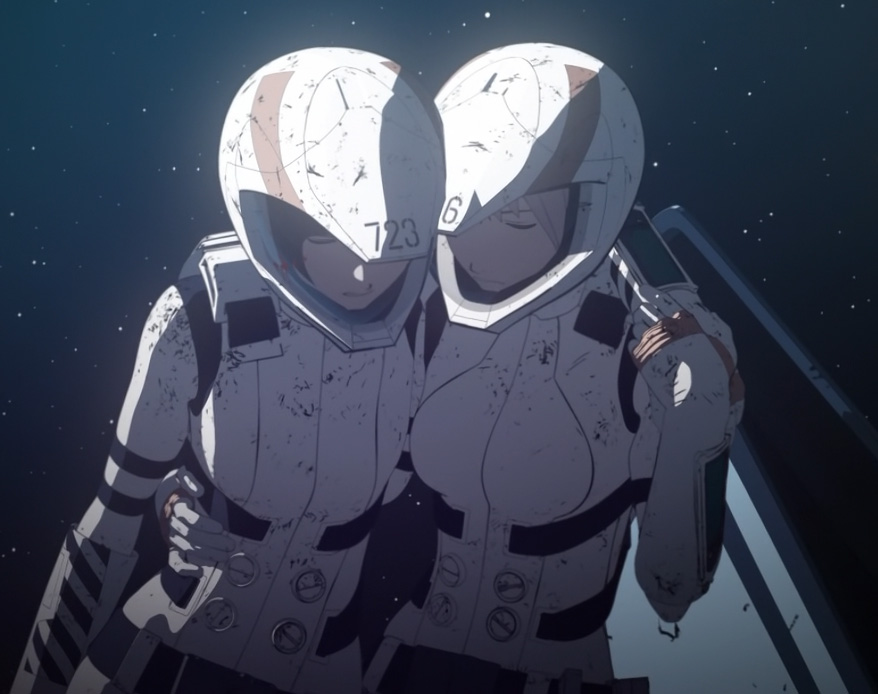
Software Agnostic Material
The basic ingredients are as follows:
Note: This example requires the EEVEE renderer.
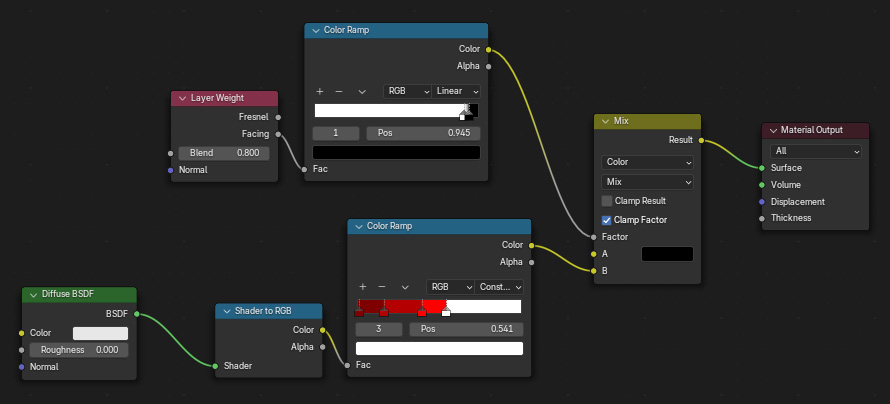
Here's the basic shader for Blender...
First notice this doesn't contain a Principled BSDF, instead we're
hooking the color directly into the Surface of the Material Output.
Then we use a Diffuse BSDF node to capture the lighting in the scene,
hook that into a Shader to RGB node to convert the shaded values into
rgb values, then use that inside of a Color Ramp to control the colors.
In the Color Ramp, instead of a single color, choose whichever
colors you want painted on the interior of your surface. Then set the
value to "Constant" so you don't get a smooth gradient, instead you
snap between the colors you've chosen. Move the tags in the gradient to
get the values placed on the surface any way you'd like.
For the outline, there's a number of different method.
Method 1:
This method is the one shown in the shader above. Use a Layer Weight
node that will capture the
edges of your surface (sometimes referred to as a Facing Ratio), set
Blend to 0.8, hook this into another Color Ramp, and adjust the color
ramp's gradient to create a sharp black outline at the edge. Then take
the edge nodes and the painted surface nodes and mix them together with
a Mix node, using the outline as a mask to reveal the color Black
that's in the Mix node. Hook the mix into your Material Output.
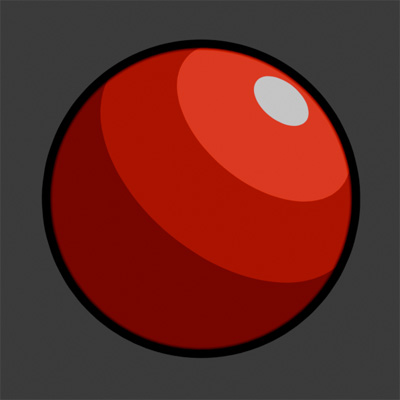
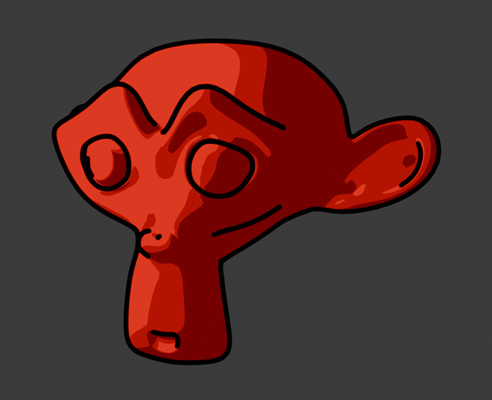
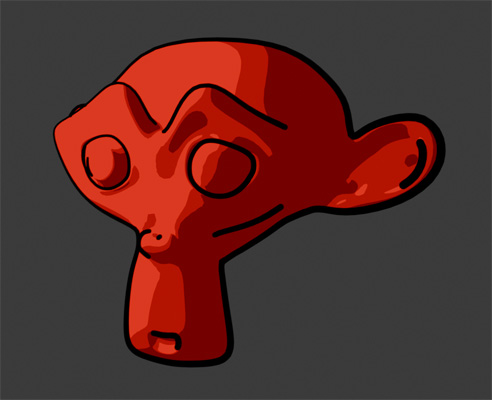
This technique only works if your objects are rounded, like a
sphere, cylinder or an organic creature with lots of small faces.
Here's the resulting render.
Here's the blend file, Blender 5.0: toon_blender_01.zip
Method 2:
An alternative way to do your outline is to go to Add > Grease
Pencil > Scene Line Art. This adds a scene object that adds an
outline to everything in the scene. Select the LineArt object it places
in your scene and go to the modifier panel, the two parameters you'll
adjust the most are the Line Radius, and to capture more edges in your
outline, increase the Crease Threshold value to a higher number.
This technique will only look correct
when you look through the camera, not an orthographic view. And it
works much better for hard surface objects than method 1, things such
as cubes, boxy robots, and vehicles.
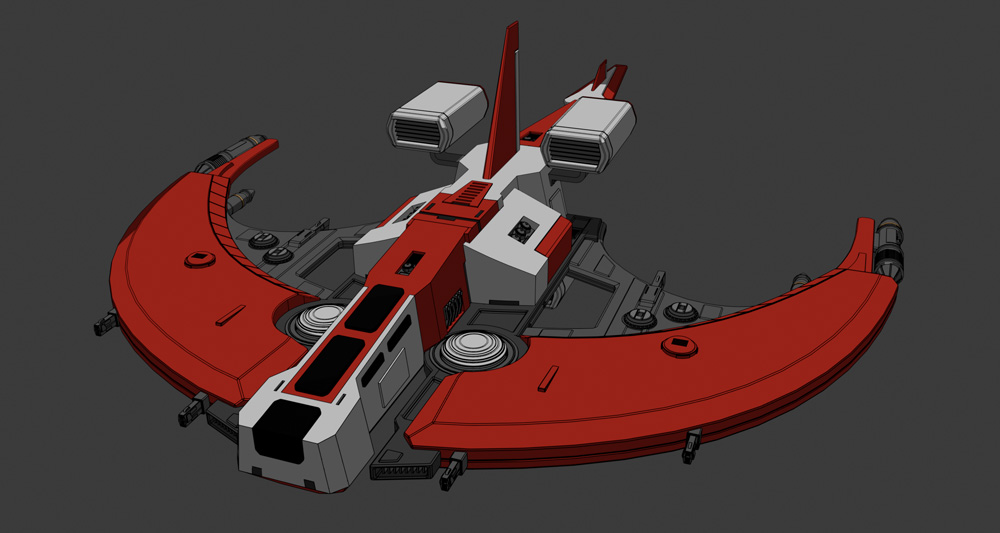
Here's the resulting render.
And here's the same technique used on a far more complex model:
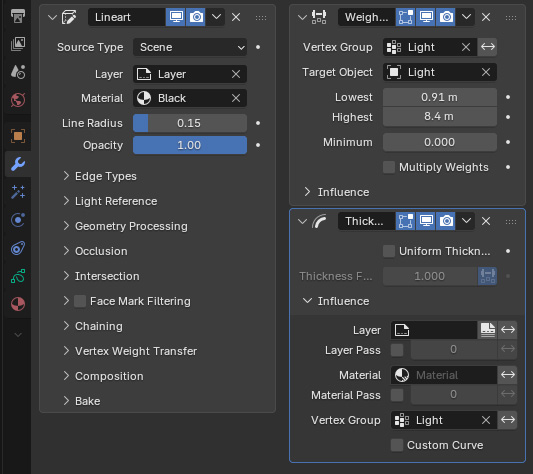
You can also adjust the line thickness based on illumination by
applying a Weight Proximity and Thickness modifier to your Line Art
object. Adjusting the Lowest and Highest values in the Weight Proximity
modifier to adjust the maximum and minimum width of the line. Thanks to
julperado for this trick!
Here's the resulting render.
Here's the blend file, Blender 5.0: toon_blender_03.zip
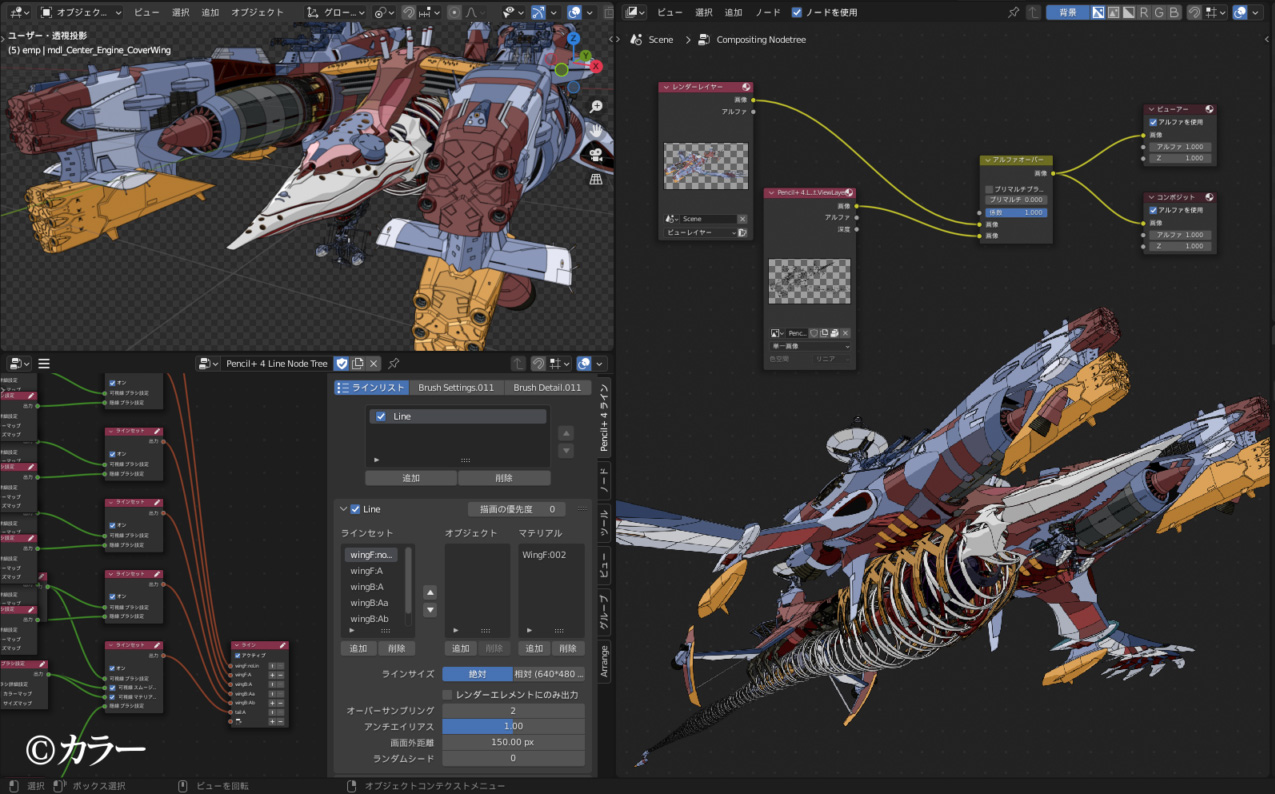
And finally method 3 is for those of you who are really serious and
want a professional plugin. Checkout Psoft Pencil+ here: https://www.psoft.co.jp/en/product/pencil/blender/
It's expensive, but it gives you a crazy level of control over your
toon shader, and has been used on lots of major anime in Japan. Thanks
to Thorn for the suggestion.
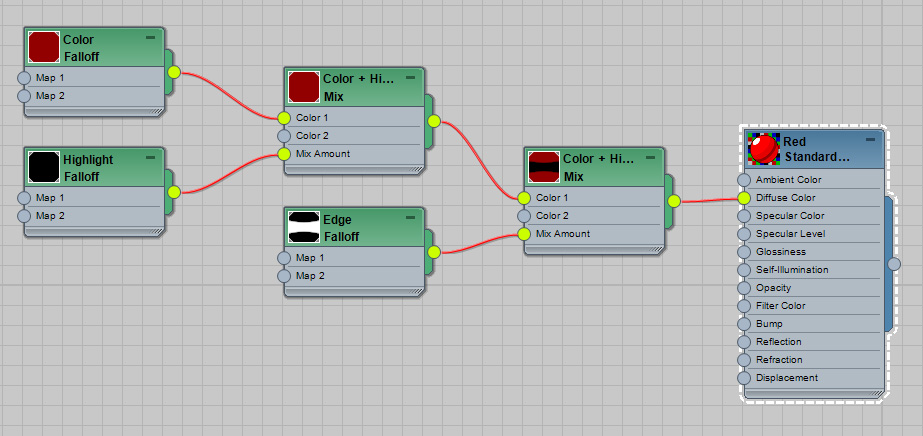
3dsmax (scanline) Example
To create a simple toon shader in 3dsmax, we'll use the Falloff Map. A falloff map is basically a way to vary a color on a surface based on a series of functions. One such function is called Perpendicular / Parallel, which blends between two colors based on the surface normal direction, so edges of an object can be a different color then the front. Another function is Shadow / Light that lets you change color between the dark and lit part of your material. Using these maps, and layering them together using mix, you can make a color layer that's based on Shadow / Light, a highlight layer based on the same thing, and an inked edge based on Perpendicular / Parallel.
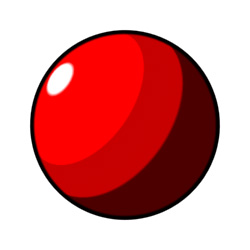
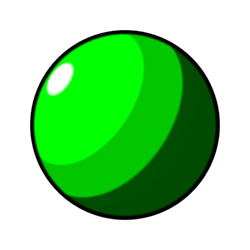
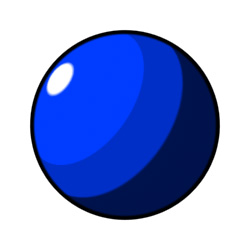
The key is to adjust the output graph on your Falloff, making the transition between colors very sharp, to get that hard edge transition between bands of color.
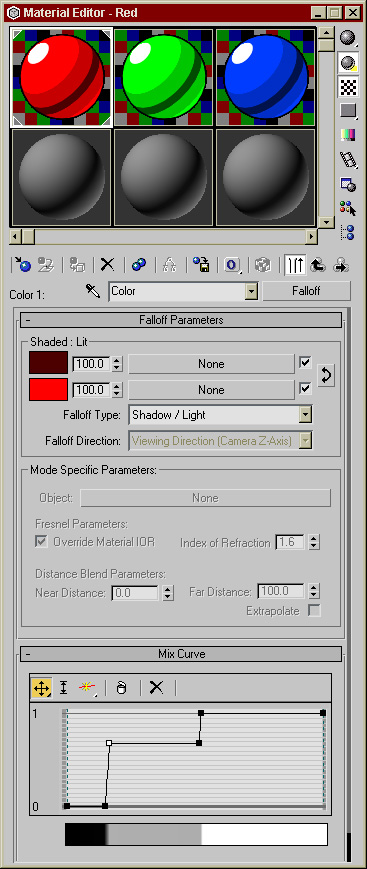
A similar output trick is used to get a sharp edge, and a sharp
highlight.
Also note the material is 100% self illuminated, so that you get the
pure color with no diffuse shading.
For complete details on how the material works, please check the
file.
Here's the max file, 3dsmax 2022: toon_3dsmax_scanline.zip