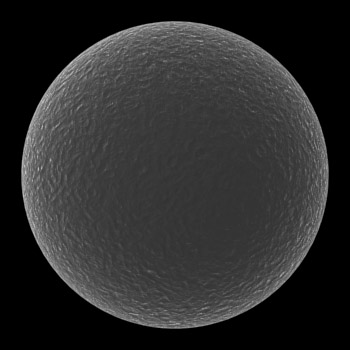
The basic electron microscope material is a deceptively easy
material to make, I've used it now and again, such as in my Spore
I image. Michael Spaw has done some spectacular work in the
area, well worth checking out. Since I've had a number of email
requests, here's a tutorial on how you may wish to go about
making your own electron microscope material. My example is done in
3dsmax, but the theory can be used inside any 3d package.
The basic ingredients are as follows:
First off, Self illumination is set to 75%, so it's mostly self
illuminated, but will accept some minor lighting from max lights.
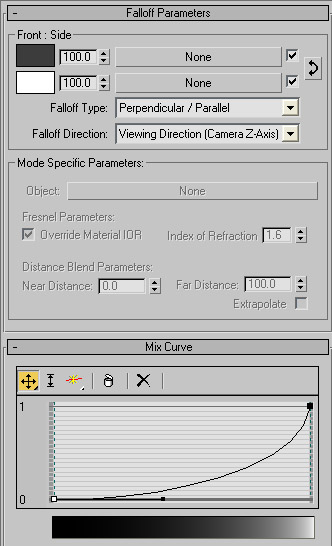
Next, a falloff is placed in the color, set to
perpendicular/parallel, with dark grey and white. I also manipulated
the Mix Curve underneath to achieve the exact balance of white and grey
I was after.
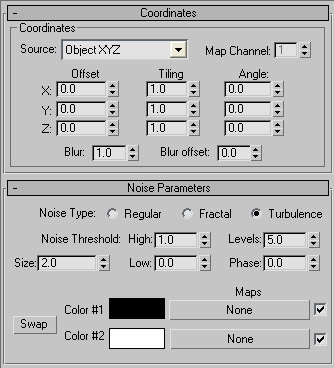
And last, I place a noise in the bump slot. This is just the most
basic of noises, for your work I highly recommend mixing several noises
with a mix map, or perhaps using some other more interesting procedural
noises like the ones that ship with Darktree for example.
Another thing to try is adding some ambient occlusion to your image.
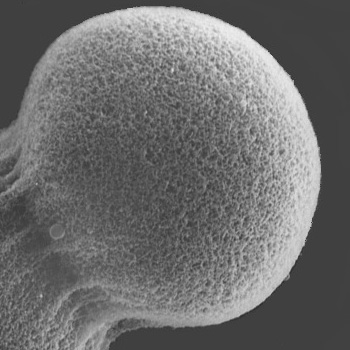
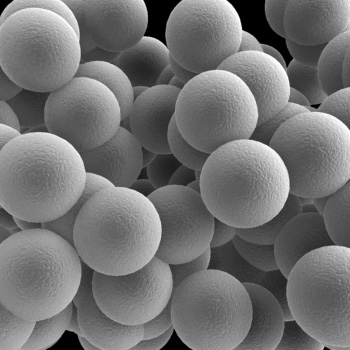
Someone asked about achieving the following look...
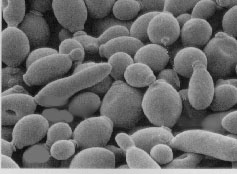
Go here for
the original picture, this is beer yeast.
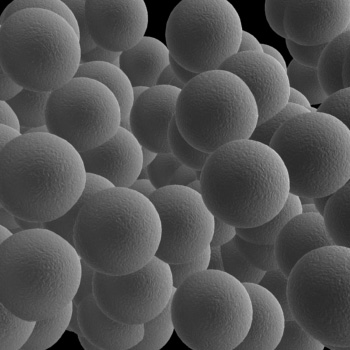
Here's an image of something similar. It uses a variation of the
material above, is shot from above with a single omnidirectional light
just to the right of the camera.
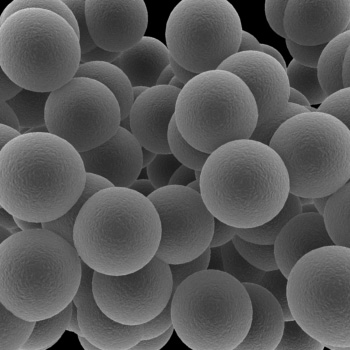
And here's the same image, this time with the omnidirectional light
off, and skylight (which includes ambient occlusion) turned on. Notice
the nice depth you get with further objects getting darker, whereas the
first image is kinda flat. (Note, to
get more of the skylit effect, your material should have a lower self
illumination value, for this image I used a self illumination value of
40%)
And here's a combination of the omnidirectional light and the
skylight, to get general darkening and also some directionality to the
light.
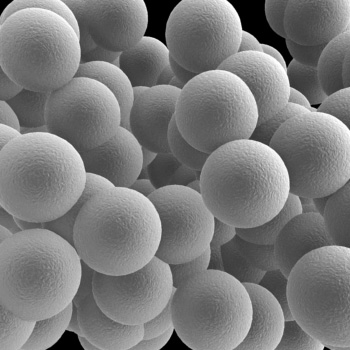
Add a shadow to the omnidirectional light for even more darkening
(in this case, I added a very soft shadowmap). This is gets you
something much closer to the reference image than just an
omnidirectional light or skylight alone.
Here's a list of some really good microscope image reference
sites. Remember, look at the real thing, and then tweak this technique
to match your reference as well as your own personal taste.