Here's a tutorial on how to create and use VDM stamps inside Mudbox
2011. VDM stands for Vector Displacement Maps, which can displace in
directions other than the face normal. This allows you to produce a lot
of stamp shapes you couldn't before. For more info on VDMs and
Non-Linear Displacement, see my Non
Linear Displacement In 3dsmax lesson.
This tutorial assumes you've used mudbox before and have some basic
understanding of using regular stamps.
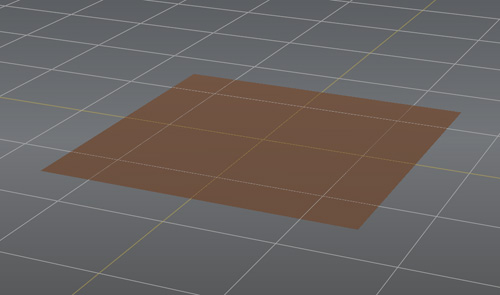
1) Download this single face plane
obj file. We will sculpt our stamp using this mesh.
2) Open Mudbox 2011, and Import the obj file into your scene.
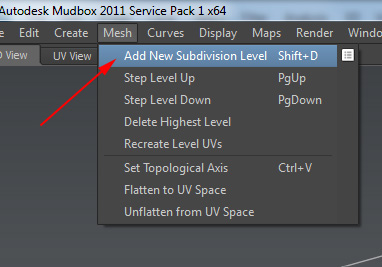
3) Subdivide the mesh a number of times so you have more mesh detail
to use.
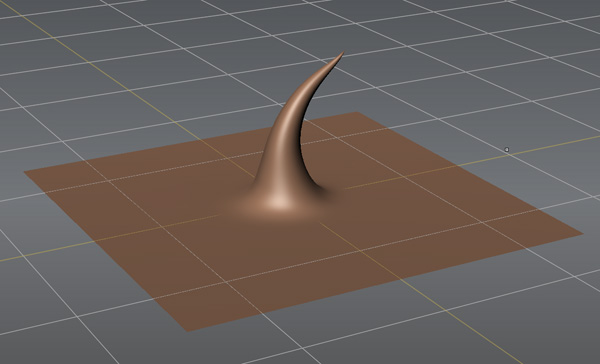
4) Using the normal sculpting tools, make a shape, something that
has an undercut to it (See the Non
Linear Displacement In 3dsmax lesson for a definition of an
undercut).
5) Now with your object selected, go to Maps -> Extract Texture
Maps -> New Operation -> Vector Displacement Map. Use the
following settings....
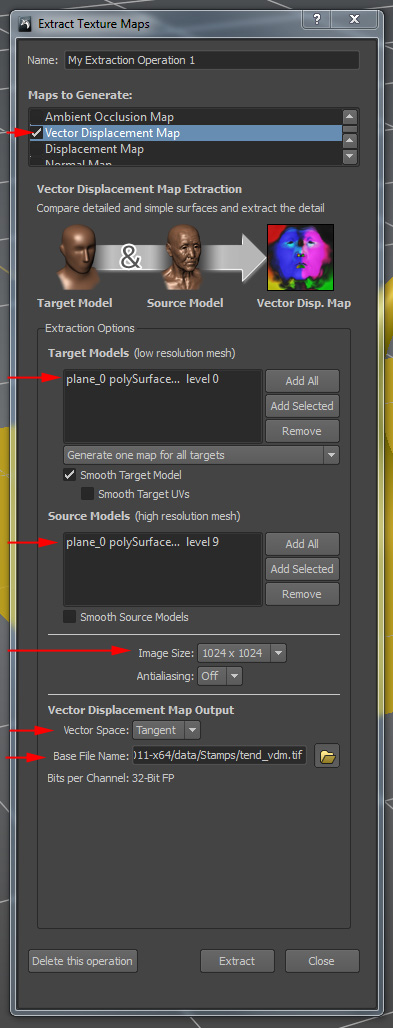
Save the file to your "Stamps" directory. Notice how it
automatically places a "_vdm" at the end of your filename, so you know
this is a vdm map.
Hit "Extract", and it will create the vdm map.
6) Save your mudbox file, as you may want to go back to it later and make modifications.
7) If you want, check your vdm map with an image viewer, I like
checking it just to make sure the result isn't garbage. It should
look something like this. The different colors represent both
directional and magnitude information.
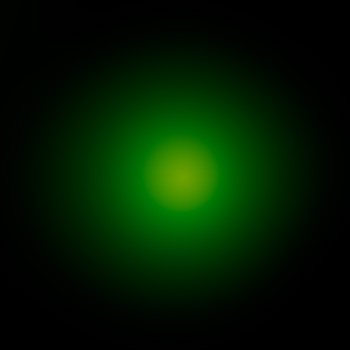
If your image instead looks black, it's possible your image viewer
can't see 32bit Floating Point Tiff images (ie, the image is probably
fine, it's the viewer that's the problem). Something like Photoshop CS4
or 5 will view the images properly. You can also view it in the Image
Browser from inside mudbox.
8) In the mudbox interface, go to the "Stamp" tab, click the
sideways arrow and say "Add Stamp".
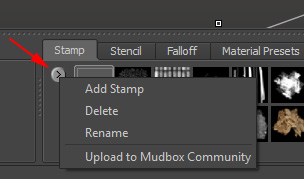
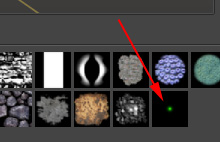
9) Choose your vdm file. The stamp is added to the toolbar.
10) Now you can use the stamp with the sculpt tool like any other
stamp on a new piece of geometry, except this type of stamp will
preserve the undercuts.
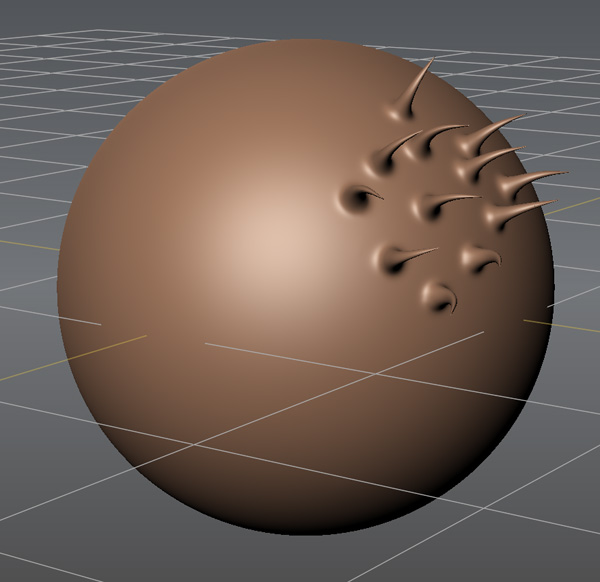
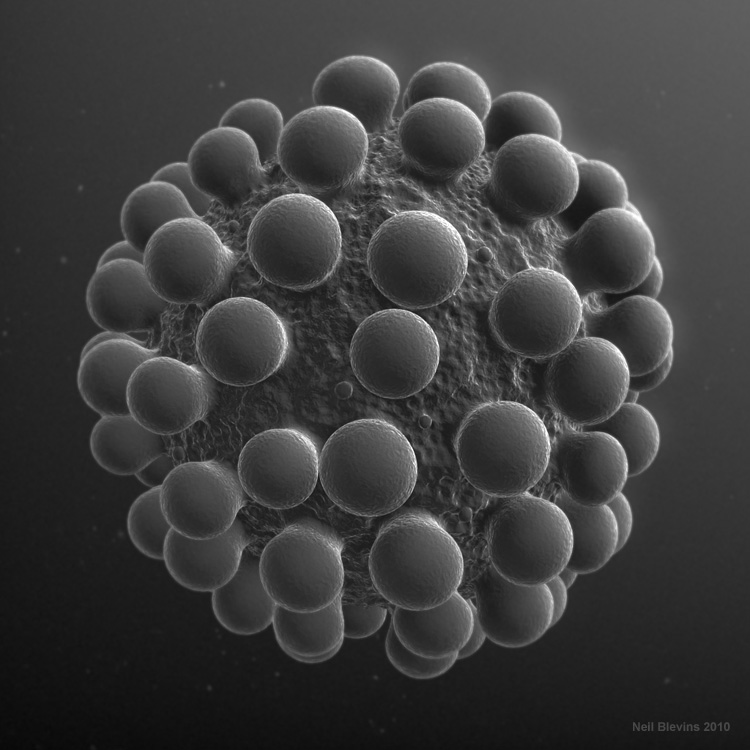
This is great for bubbles, rock spires, and all sorts of other
details. Here's an image I made using a similar vdm stamp...