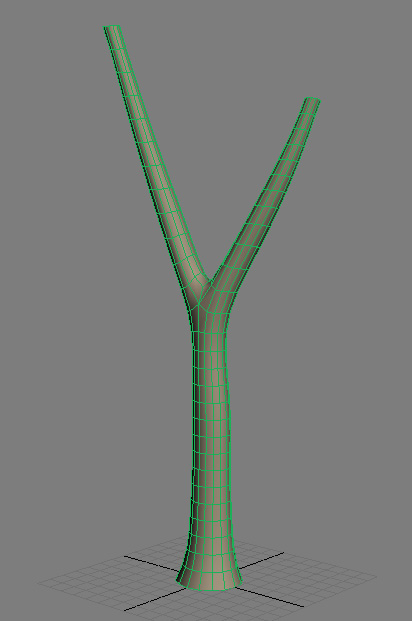
Say you have a shape like a tree that you'd like to apply some good uv
mapping to. One method to map branching objects like this is called
Pelt Mapping. Pelt Mapping lets you define an area you want to stretch
out, like you were stretching the skin of an animal.
Here's a quick
tutorial on how to use Pelt Mapping inside 3dsmax 2009.
1) Select your tree. Go here for the example
file in max 2009 format.
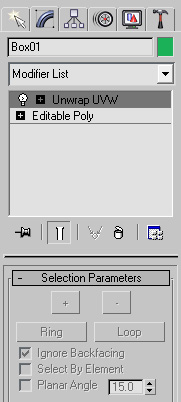
2) Apply a "Unwrap UVW" Modifier to your object.
3) Go into the Face subobject mode of the "Unwrap UVW" Modifier.
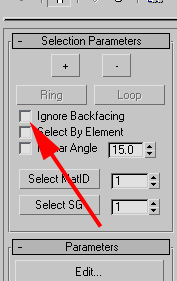
4) Turn off "Ignore Backfacing".
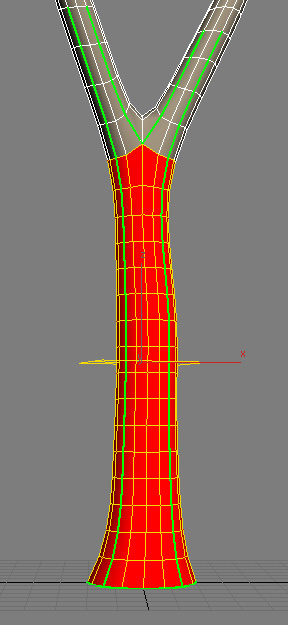
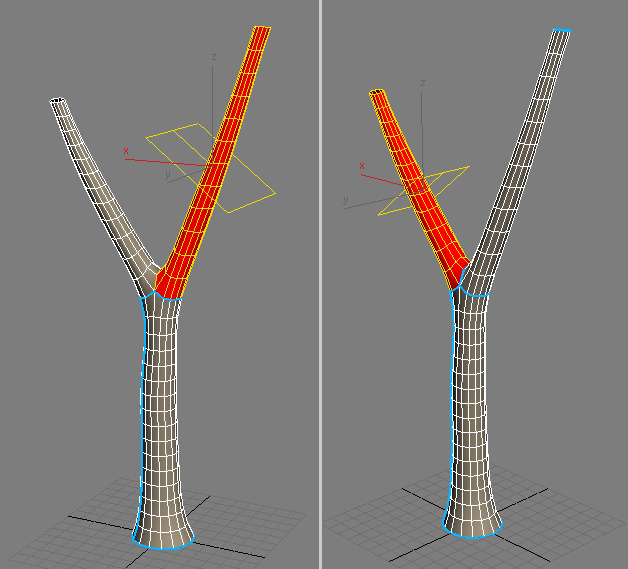
5) Select all the faces that make up the main trunk of the tree
6) Uncheck "Show Map Seam" in the Parameters section of your "Unwrap
UVW" Modifier so you can more clearly see the seams you'll be adding.
Then click the "Edit Seams" button in the Map Parameters section of
your "Unwrap UVW" Modifier, and then place a seam down one part of the
trunk (preferably in an area that won't be as frequently seen, like the
back of the tree). Pelt Seams appear as blue lines, like the one you
see in the image below.
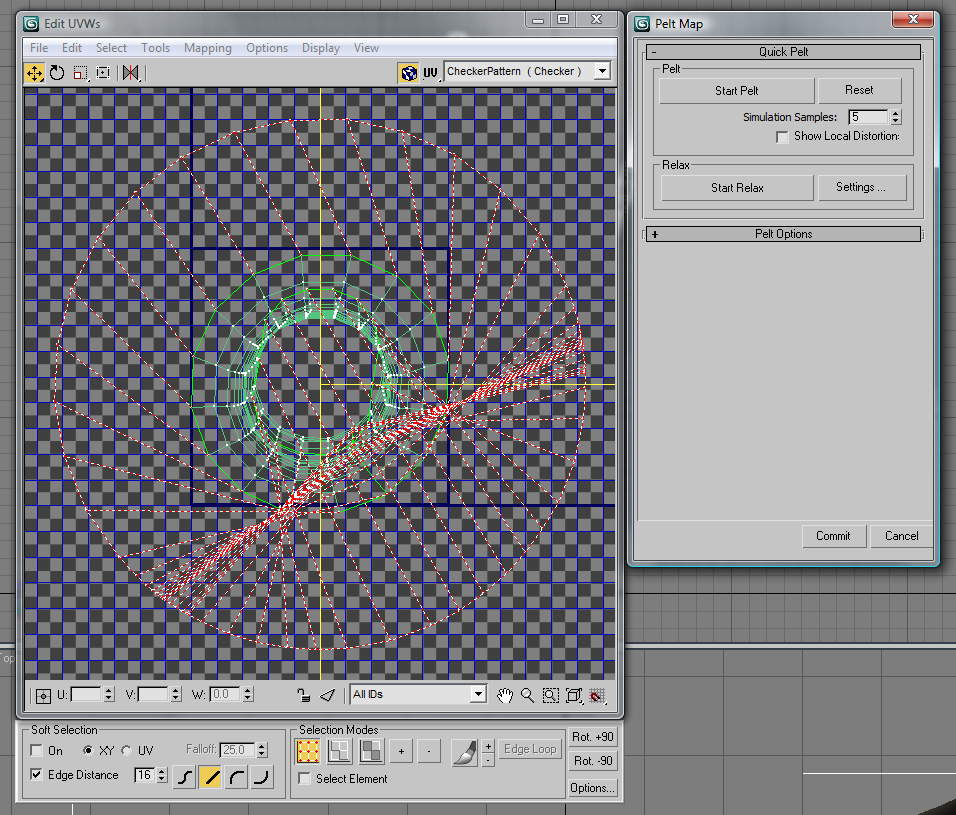
7) Hit the "Edit" button under Parameters so you can see the uvs of
your object. Then press the "Pelt" button under Map Parameters. You'll
see the "Pelt Map" dialog and you'll see the section of the tree you
selected in your "Edit UVW" floater.
8) Click "Start Pelt" in the "Pelt Map" Dialog, and when the uvs stop
moving, click the "Stop Pelt" button.
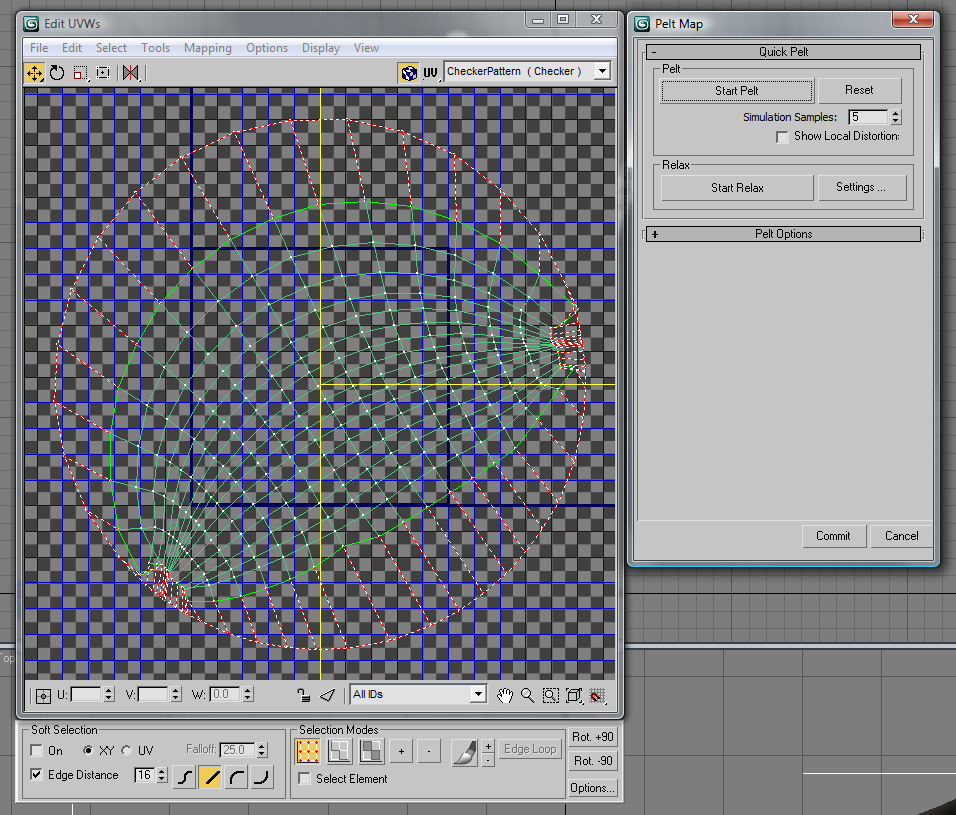
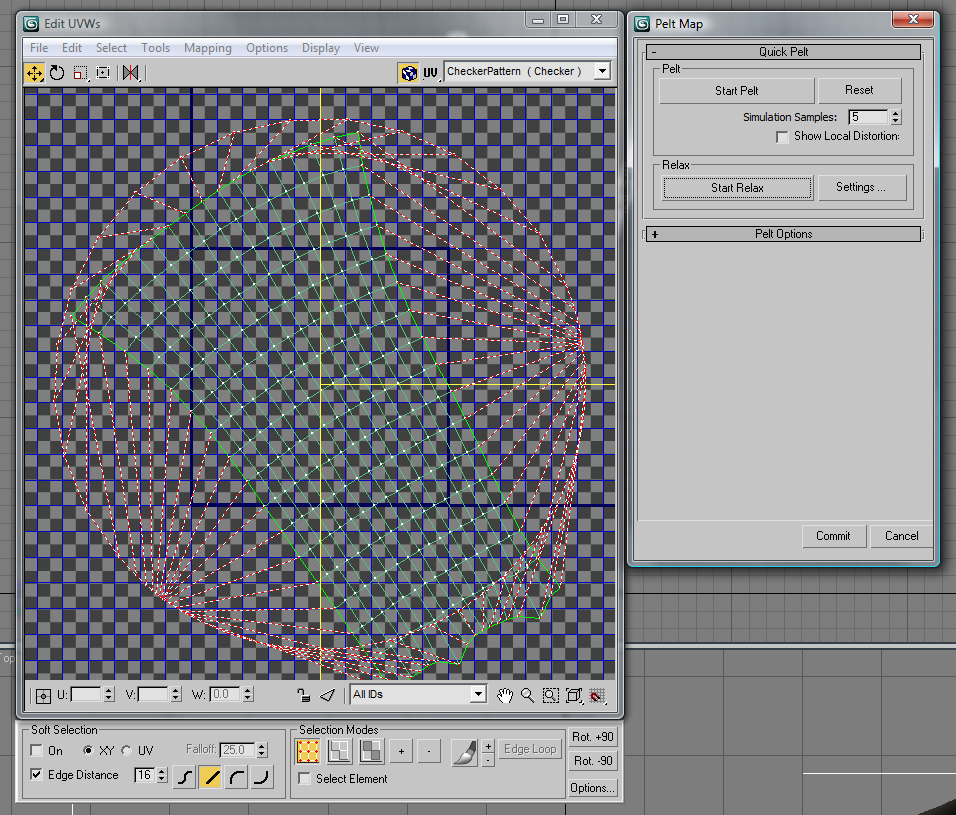
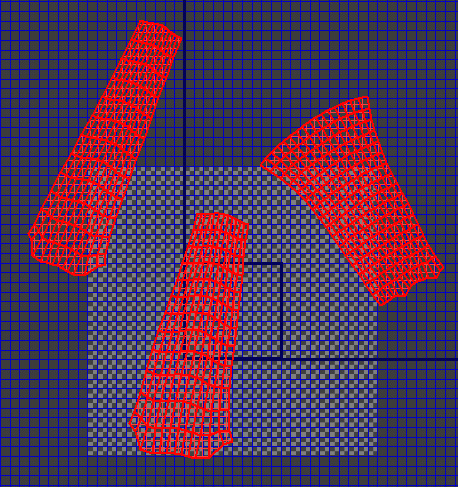
9) Now the uvs are stretched, but they're also quite distorted. Remove
the distortion using the "Start Relax" button in the "Pelt Map" Dialog.
When the uvs seems more relaxed and aren't moving very much anymore,
press it again to stop the process.
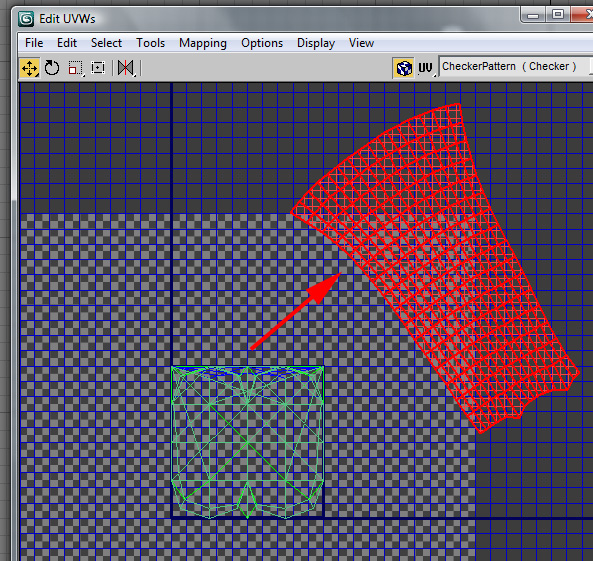
10) Hit "Commit" in the "Pelt Map" Dialog. Move the resulting uv shell
to somewhere away from the remaining uvs.
11) Repeat steps 5-10 for the other two branches of the tree
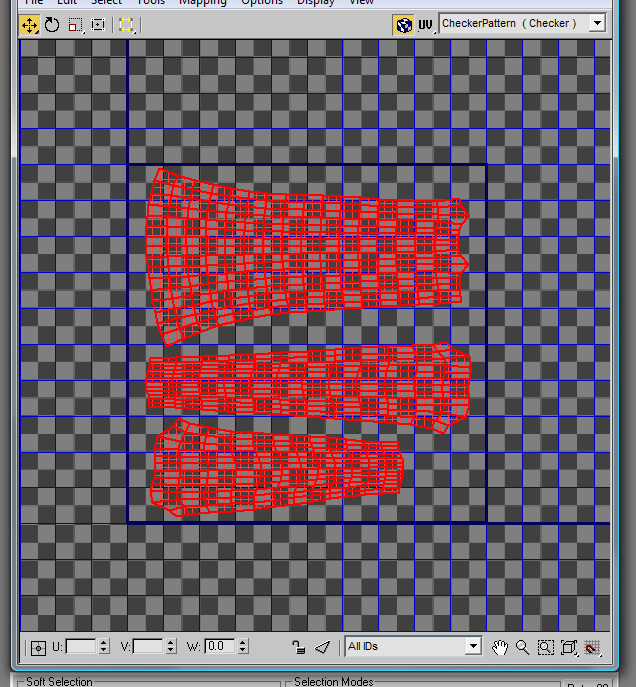
12) Select all 3 uv shells in the "Edit UVWs" floater.
13) Choose the Tools -> Relax option, and relax the UV shells. What
this will do is resize the shells so that the faces in the 3d world
that are smaller will receive less uv space. So you'll get an even
distribution of uvs over the surface of your object. If any of your
shells get distorted by this second relax, select each shell that's
distorted individually and do a third relax, that will relax the shell
with respect to itself, but this will also keep the same overall size
so that you keep the nice distribution of uvs between shells. Feel free
to use either "Relax By Edge Angles" or "Relax By Face Angles", or use
a little of both, whatever does the best job of relaxing the UVs.
14) Now pack all the shells by hand into the 0-1 square, or try the
Tools ->
Pack UVs option to automatically pack them.
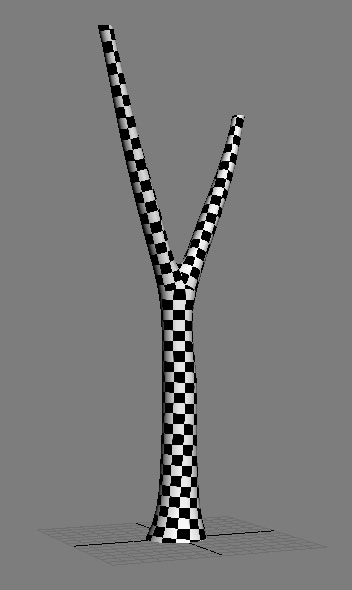
15) And here's your final mapping, notice how the squares are pretty
evenly sized on the surface. Now the uvs are good to paint on in a 2d
paint
program like Photoshop, or to use as uvs for a program like Mudbox or
Zbrush for displacement map baking.
If you'd like to see an example of the mapped model, take the example
file you downloaded above and hit Unhide All to see the final model.