Texture Baking: Baking A Pattern
To Use In
A Different Renderer Or 3D App
By Neil Blevins
Created On: Dec 16th 2013
Updated On: Feb 14th 2026
Software: Blender or 3dsmax
So lets say you have a textured model in your 3d application of
choice, and your material includes some nodes that are specific to your
3d application and renderer. As an example, say you're in 3dsmax and
are using the Arnold Renderer and used Arnold specific nodes in your
material. Now you want to either render your model in a different
renderer within the same 3d application, or
use it in another 3d application entirely (like Blender or Unreal
Engine). While some material nodes may transfer, many will not, and so
you have to completely redo your texturing.
This is where Texture
Baking comes in. Texture Baking allows you to take any node or series
of nodes in your material and "bake" it into
a texture map. Think of it like flattening your node tree
into a single node. Editing the texture isn't
as simple as editing the nodes (you'll need to rebake), but the texture
map is compatible with almost any application you want to use. This can
let you use a different renderer, use the model in a different
application, or in some cases render the model faster in your current
application, all without having to redo your texturing. Or think of
texture baking as a way to take one method for
placing your texture onto a surface and transfer it to a new placement
method (usually UVs).
Blender Example
So lets say you have a material in Blender that contains procedural
nodes in the node tree hooked up to the color of your material. And you
want to transfer the model to Unreal Engine. Time to take that color
texture and bake!
Here's the steps:
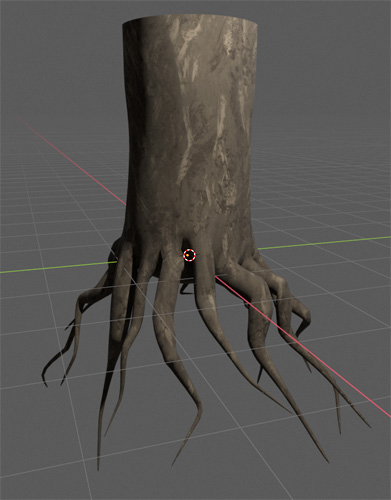
1) Select your object (for my example I'm using a tree stump with
roots).
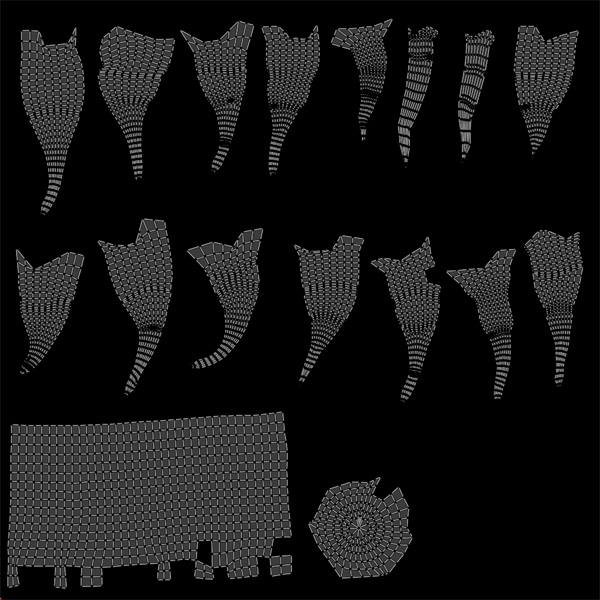
2) Make sure your object has UVs
3) Go to the Shading workspace
4) In one of the left hand windows, create a new UV Editor view
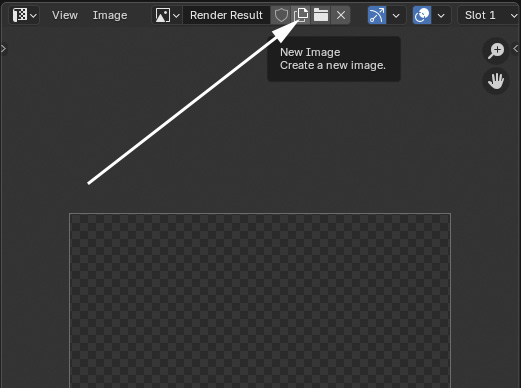
5) Click "new image" button to create a new texture map
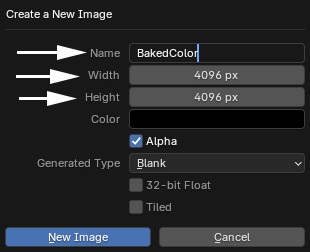
6) Create a 4k texture, rename BakedColor. The resolution can be
anything you want, but I always try and keep it large to get as much
detail as possible.
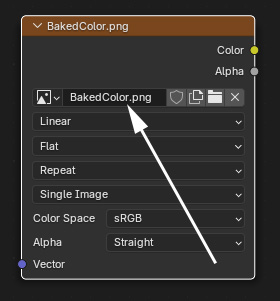
7) Create new image texture node in your material graph, don't hook it
up to anything, switch that node to your BakedColor texture (by
clicking the little image icon in the node's interface on the far left
and choosing that texture)
8) Switch to the render tab
9) Switch renderer to Cycles
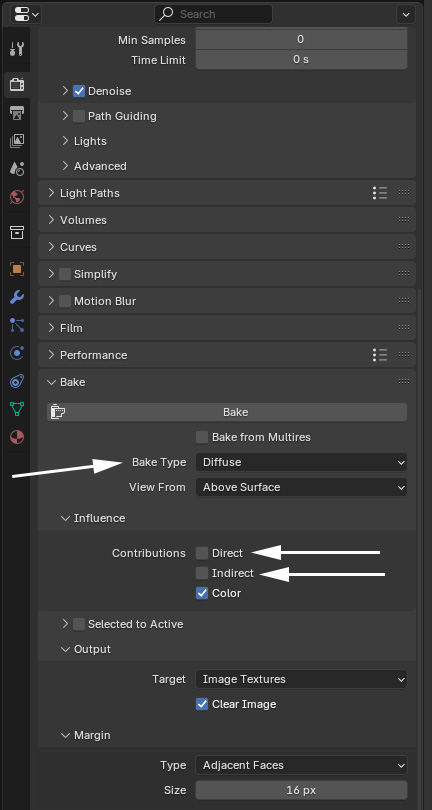
10) Go to Bake section in the Render Tab
11) Bake type: Diffuse to bake the color (or whatever part of your
material you want to bake)
12) Turn off direct and indirect (we don't want lighting, only the pure
color or value)
13) If your material has a Metallic value other than 0,
and you're trying to bake the color, turn the metallic value to 0
before baking, otherwise your color map will be far too dark.
14) Select the Object you want to bake and select the Texture Node you
want to bake to
(not from), in this case the node you created in step 7 that's hooked
up to BakedColor.png.
15) Click Bake button in the Render Tab
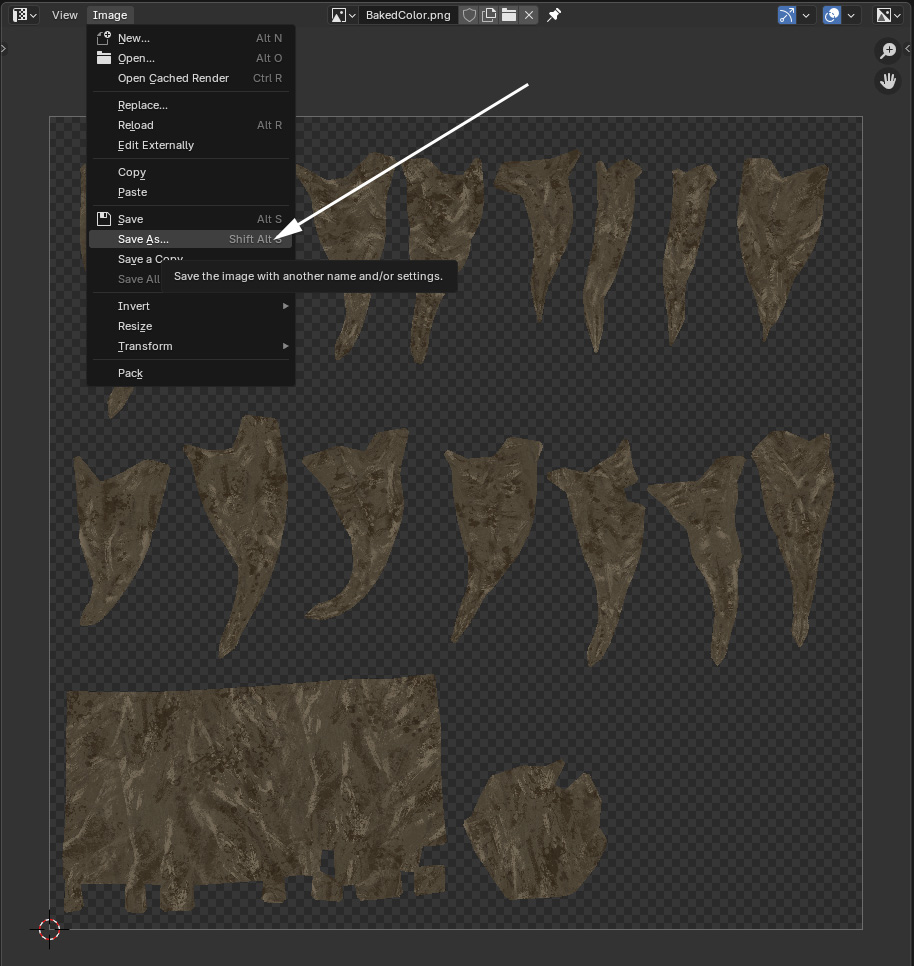
16) Once the bake is complete (look for the progress bar at the lower
part of the screen), go to the UV Editor view which should now have
your baked image, click Image, Save, save your texturemap file to your
hard drive.
Baking Multiple Objects:
If you want to bake multiple objects to a single bitmap, follow
the instructions above, but...
- Make sure they don't have overlapping UVs
- Uncheck "Clear Image" under Bake > Output
- Select each source object you want to bake one at a time and
click the bake button for each object. Each bake will add to the
current texture map some baked texture without overwriting the texture
that the previous object adds to the texturemap.
Now you can use this texture map in any piece of software that lets you
assign a texture to an object with uvs.
3dsmax Example
So lets say you have a material in 3dsmax that contains an Arnold
specific map in the node tree. And you want to render it now in vray,
still inside of 3dsmax. Time to take that texture and bake!
For this tutorial, you'll need my Soulburn
Script pack, as you'll be using the texmapBaker Script.
Here's the steps:
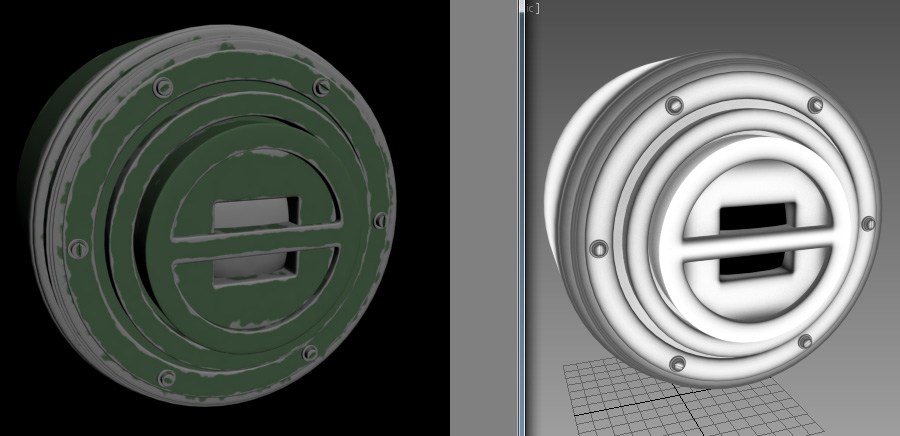
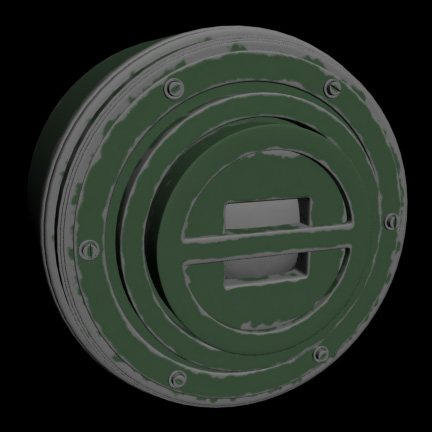
1) Select your object(s) (for my example I'm using a mechanical joint
from a robot).
2) Open the Classic Material Editor and have active the map you want to
bake.
3) Open the texmapBaker UI
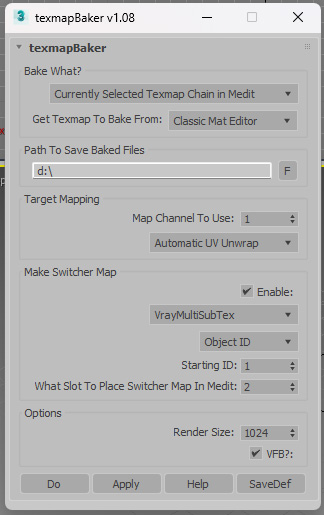
<>4) Choose the path you want to bake to (this will write out one
bitmap per object into this path, each file named after the object.)
5) Since my objects don't already have UVs, I'm choosing Automatic UV
Unwrap
6) Turn on Map Switcher, set to VrayMuliSubTex (since we're going
to render the final result in vray)
7) Change Render Size to 4096. The resolution can be anything you want,
but I always try and keep it large to get as much detail as possible.
8) Hit Apply.
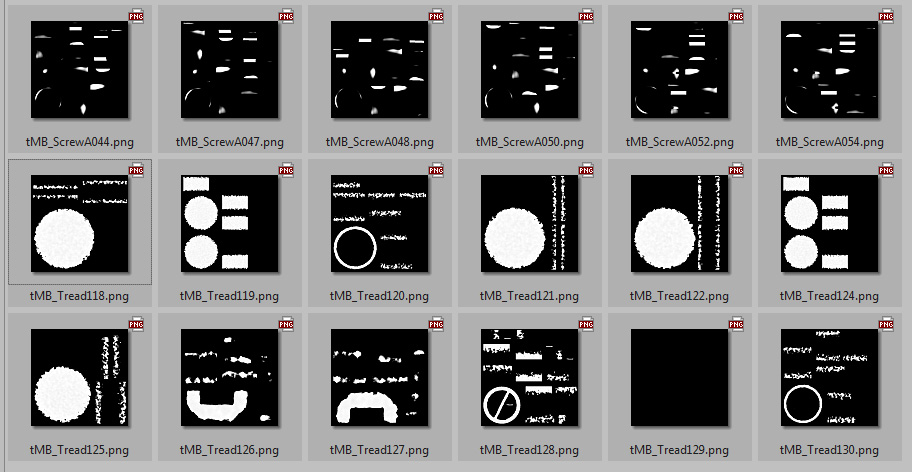
9) You'll now have a series of texture written out to that directory...
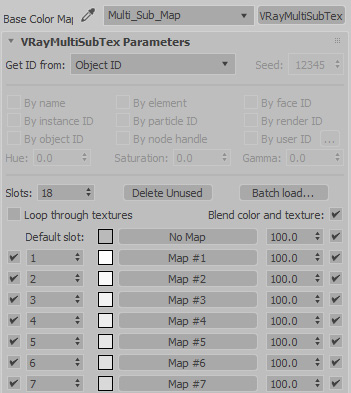
10) You also now have in slot 2 of your Material Editor a vray
VrayMultiSubTex map that's pointing to all of these maps...
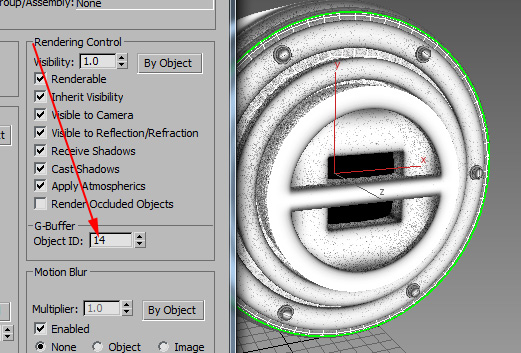
11) And if you check out your objects, they each have an Object ID
that's been set to match the maps and their place in the Multi-Map...
12) Now replace the incomatible map in your map chain with your
newly created Multi-Map.
13) Change renderer to vray, and hit render
There you go, you can now use any map inside of vray.
For more information on which Switcher map to use and which ID type
to choose, read my lesson on Switchers And IDs,
Which To Use When.
Conclusion
There are some disadvantages of baking down a node tree into
textures:
- Since you have all
of these bitmaps, you're now probably going to use up a lot more
texture memory than using the original node tree.
- If you tweak your original node tree, you'll have to redo
your
baking process.
But the advantage of being able to move your model with textures to
almost any other renderer or app means this is a vital technique to
have in your arsenal.
This site is ©2026 by Neil Blevins, All rights
are reserved.
To see hundreds of other tutorials similar to this one, visit the
Neil Blevins Education Site