Layers Breakdown:
Megastructure Bernal Sphere 3
By Neil Blevins
Created On: Apr 12th 2021
Software: Any
In this Layers Breakdown, I go through the various steps I did to
make up my Megastructures painting Bernal Sphere 3. Thanks To Isaac
Hannaford and Raj Nattam for the suggestion!
You have two choices with this lesson, watch me discuss the issue in
the video below, or read the full text. Note, the text is a shorter
version of this breakdown, watch the video for much more detail.
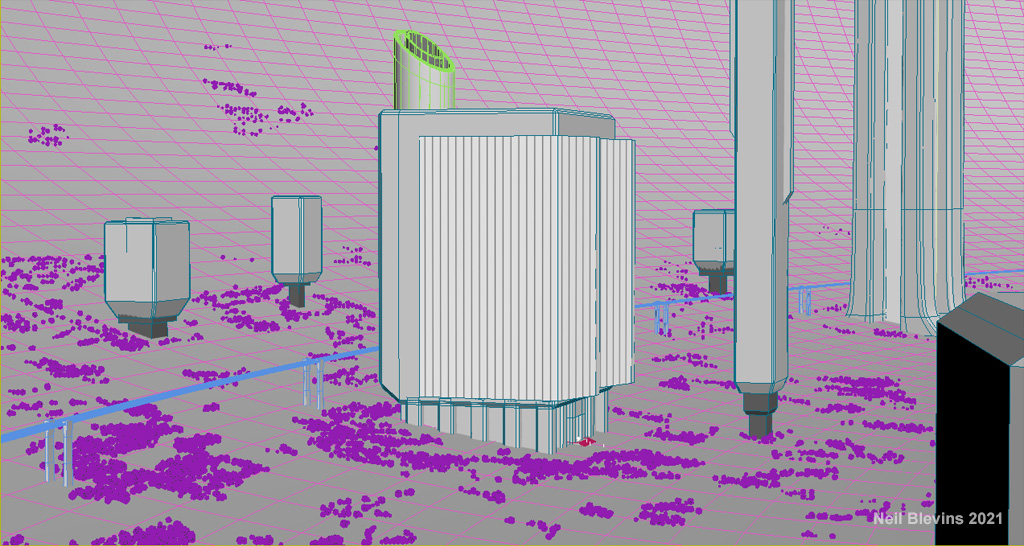
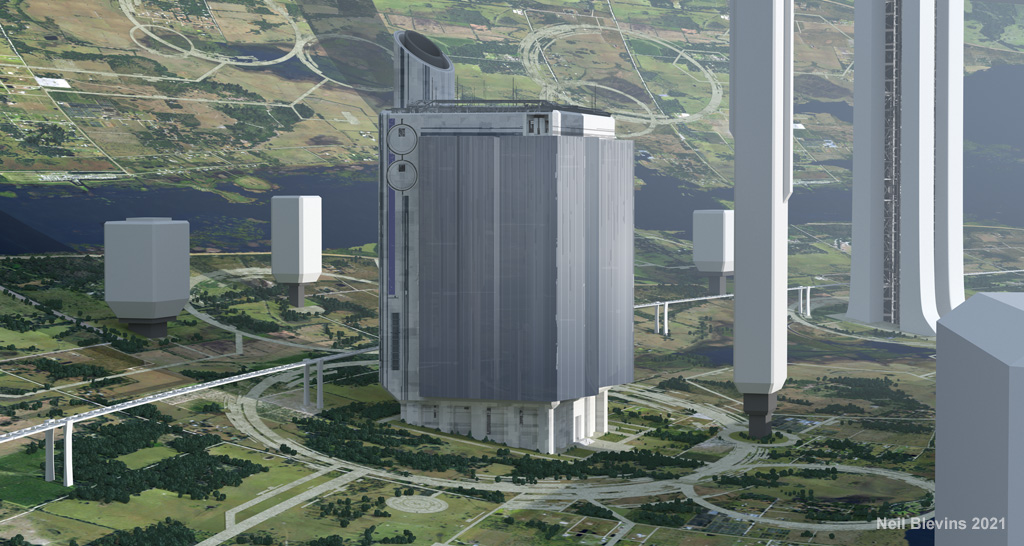
As with many of my images, this is a combination of 3d, photomanip
and hand paint. Image 1 below is the simple 3d base I started with made
in 3dsmax.
Next here's a close up of the trees. Notice they're just spheres with
some noise, they are so small in the final image there's really no
point to add more detail than that. I placed them in the max scene
using a script I wrote called ObjectPainter that allows you to place
objects (the spheres) onto other objects (the curved ground plane) with
a brush.
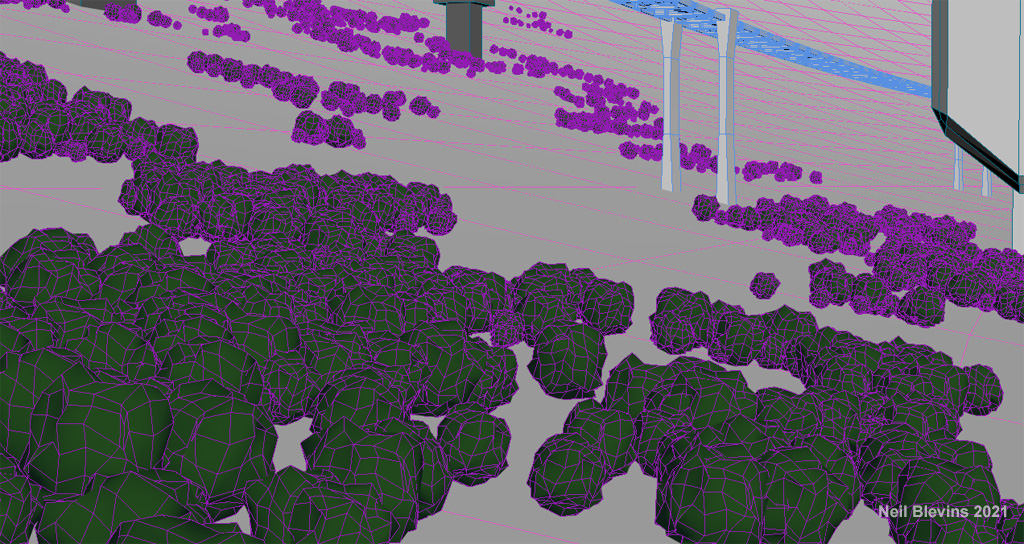
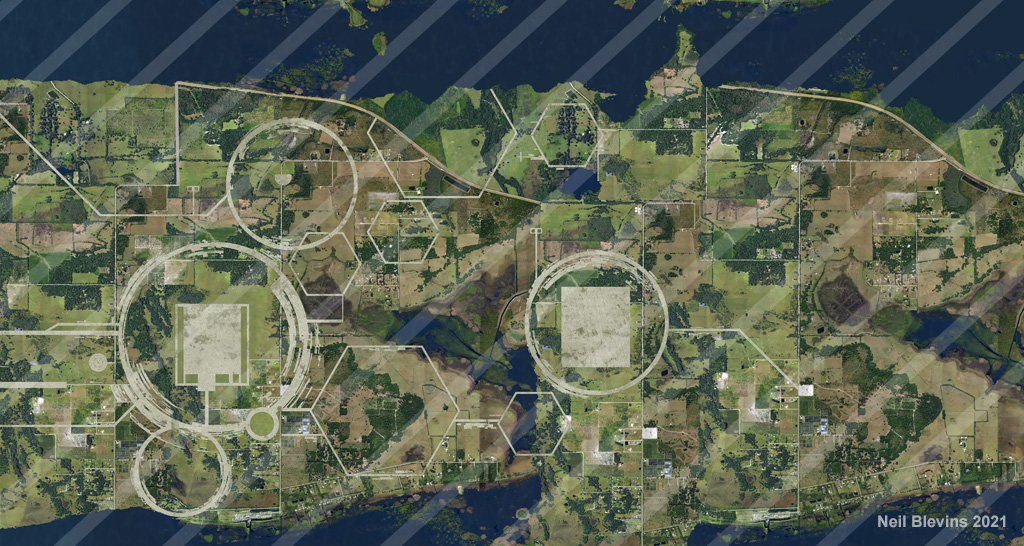
Image 3
is the texture map I made for the ground, a combination of satellite
imagery from the internet and lots of hand painting and editing. The
roads were placed on a separate layer, then I matched their position
with the 3d buildings I had already created.
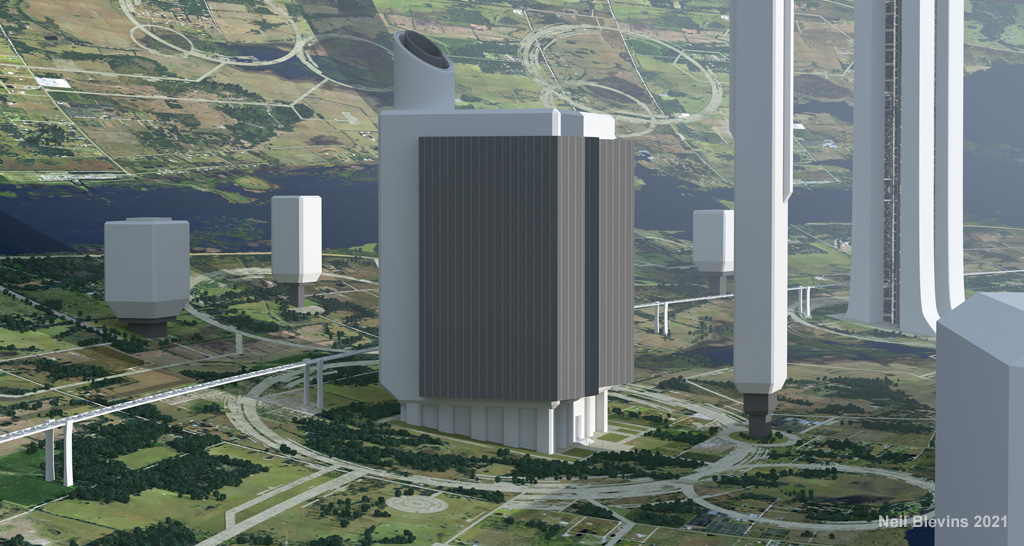
Image
4 is the raw render with the texturemap applied to the inside of the
sphere.
Image
5 is a hand painted element in photoshop that was going to be applied
to the 3d blockout.

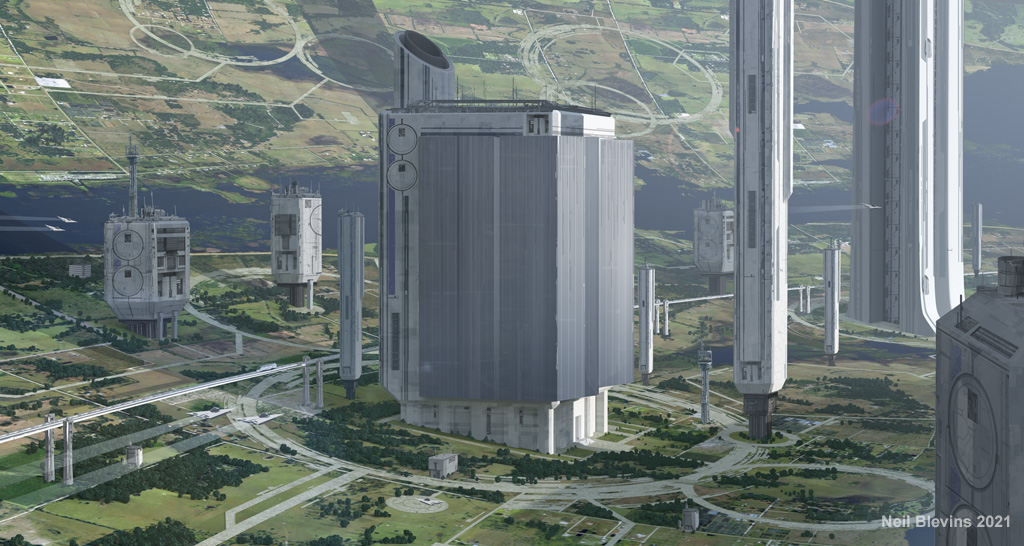
Image 6 is the painted elements applied to the 3d blockout.
Then I used the same techniques on all the other buildings.
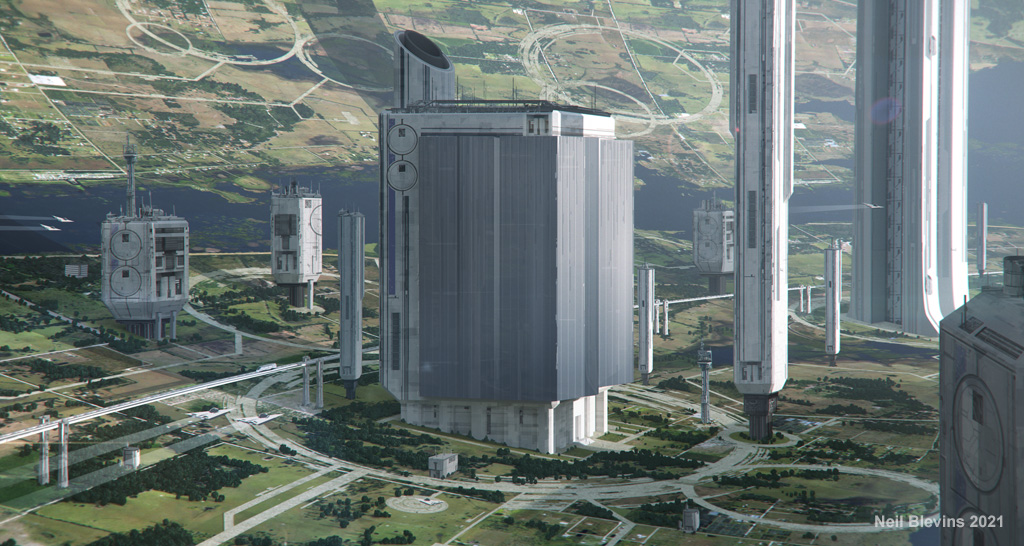
And finally, some color correction, contrast, and a slight 2d camera
distortion.
This image will be in my upcoming book "Megastructures", visit this
page for more info on the book.
This site is ©2026 by Neil Blevins, All rights
are reserved.
To see hundreds of other tutorials similar to this one, visit the
Neil Blevins Education Site